Acces the WebGrants System
- Go to the
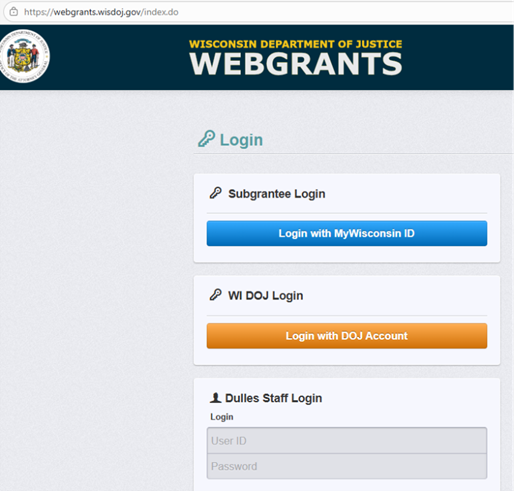
WebGrants login page
- Click on the “Subgrantee Login-MyWisconsin ID Access to Single Sign On Tool” button.
- Enter your MyWisconsin ID User ID.
- Enter your MyWisconsin ID Password.
- Click on “Sign In”.
Note: Use the WebGrants Menu, not the Browser Menu. WebGrants is compatible with many different browsers; please feel free to use the browser of your choice. Read the instructions on the screen for navigating in the system.
Creating an Application
- From the side menu, click on
"Funding Announcements"
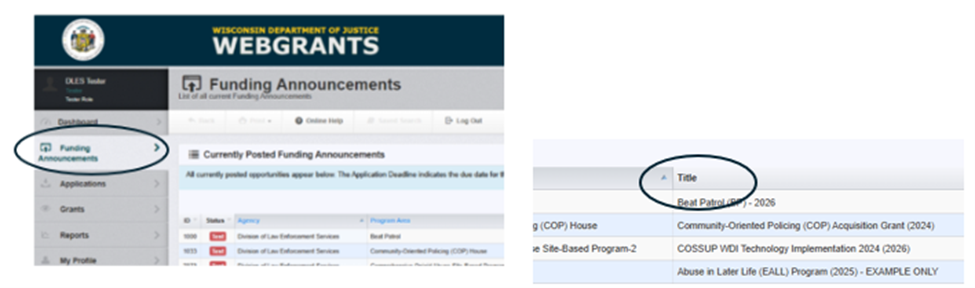
- Select the
“Funding Announcement Title” you are applying for.
- Read the Funding Announcement description to ensure eligibility requirements.
- Click on
“Start A New Application”: Green button on the right.

Note: At any time, you may click on
“Ask a Question” and submit a question. When the Program Manager answers, you will receive an email alert from the WebGrants system. Contact information for Wisconsin DOJ Program Manager and Wisconsin DOJ Financial Contact are shown.

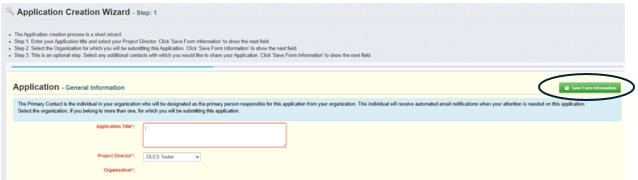
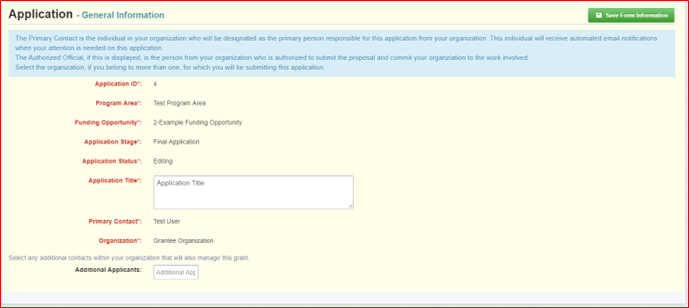
General Information Page
This is a system page that pulls from the People and Organization database. The system identifies the user and the association with their Organization. This is identified when a user registers for access to WebGrants.
- Complete Step 1 in the Application Creation Wizard, then click
“Save Form Information”:
- Choose your organization from the drop-down in Step 2 of the Application Creation Wizard. Then click the green
“Save Form Information”:
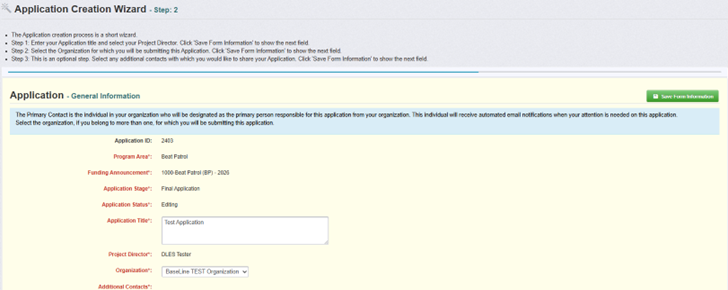
- You
must add ‘Additional Contacts’ from your Organization. You can add them in Step 3 of the Application Creation Wizard. Additional Contacts
receive system alerts and must be listed to request a login to have access to the grant. People cannot have access to the grant if they are not listed under Additional Contacts. Then click
“Save Form Information”:
Note: The system has created and assigned the application number when you clicked ‘Save’.
- If you log out of the system at this point or any future point: DO NOT CLICK ON START A NEW APPLICATION again.
- To get access to the application you started, click on
“Applications” from the Side Menu or; Click on
“Funding Announcements” and you will see your application in the top section.
Completing an Application
Once you have completed the General Information, you will be returned to the Application Details. Select
“Mark as Complete” upon completing each section.
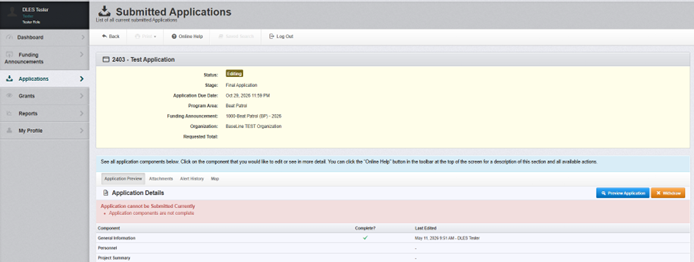
Note: The Applications Details page will show a header in pink letting you know that you are required to mark all the forms complete or the application cannot be submitted.
The system will show a complete listing of all application forms that are to be completed by the applicant to apply for funding in the WebGrants System. Click on the next form listed underneath the General Information which you just completed.
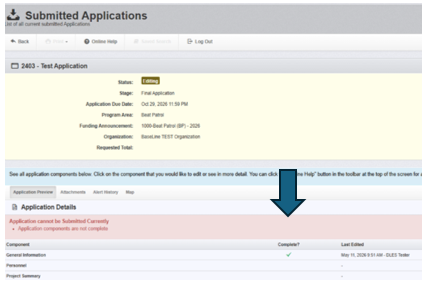
You will continue to click on each form in the Application Details listing until complete.
Navigating the WebGrants SystemMost forms are editable by clicking
“Edit” at the top part of the section of the form. However, multi-list sections are editable by clicking
“Add” on the section. If you are completing a multi-list section, you can create as many rows as necessary to complete the section. If you want to delete a row, you will click on the row and click
“Delete”.
All information must be saved by clicking “Save’ on the forms. If you do not click ‘save’ and you back out of the form or section of the form, your information will be lost.
Reminder: If you log out of the system at this point or any future point:
DO NOT CLICK ON START A NEW APPLICATION.
You can click on
“Applications” from the side menu or;
Click on
“Funding Announcements” and you will see your application in the top section.
Once you have completed the entire application and marked all forms complete, your application is ready to submit. You will notice that your header has turned green.
Submitting a Completed Application
Click the
“Submit Application” button.

You will receive a pop-up confirmation informing you that once you click “Submit” the system will no longer let you edit the application.
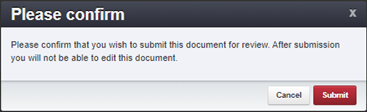
If ready, click
“Submit”.
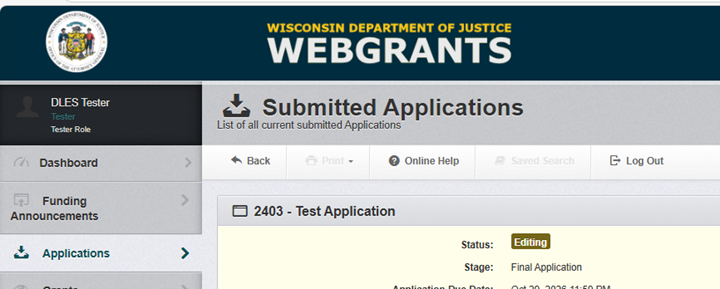
The system will take you back to your Current Applications listing and will show you your submitted application.
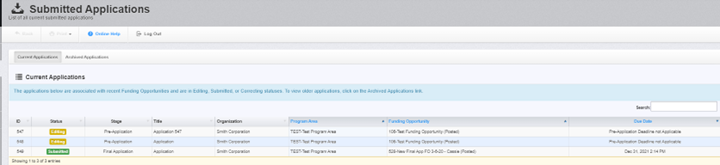
Printing the Submitted Application
Click on your application in “Submitted” status.
Click “Print” on your top menu and select “Send to Printer or create a PDF”

When finished, click on “Log Out” located in the middle of the page.