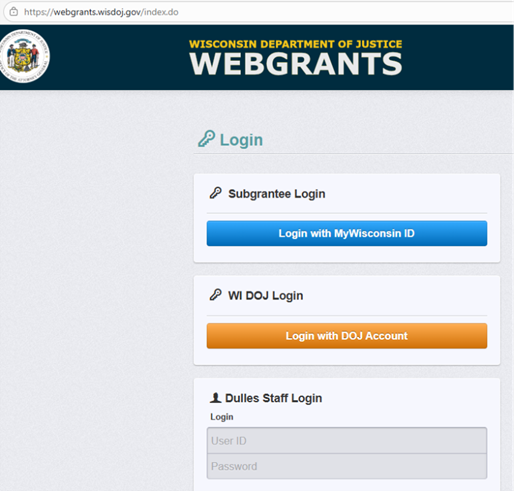
Access the WebGrants System
- Go to the
WebGrants login page
- Click on the “Subgrantee Login-MyWisconsin ID Access to Single Sign On Tool” button.
- Enter your MyWisconsin ID User ID.
- Enter your MyWisconsin ID Password.
- Click on
“Sign In”.
Note: Use the WebGrants Menu, not the Browser Menu. WebGrants is compatible with many different browsers; please feel free to use the browser of your choice. Read the instructions on the screen for navigating in the system.
How to Submit a Claim
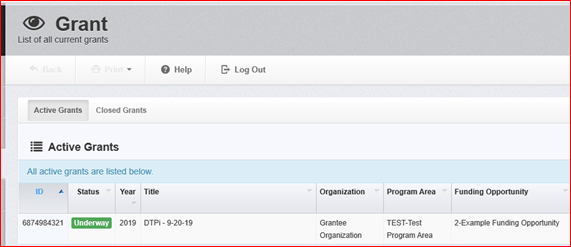
From the Side Menu: Click on “Grants”.

Select the grant you would like to access in the “Active Grants” listing.
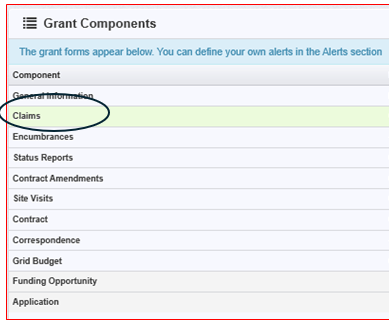
Once you have selected the grant, you will be directed to the “Grant Components”.
Select “Claims” from the list of Grant Components
Click “Add Claim” on the button located on the right side of your screen.
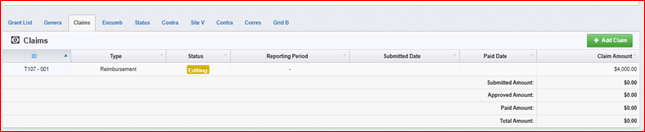
You will then be directed to the “General Information-Claim”.
Complete the fields on the form, then click “Save Form”:

Note: The system will creat a claim number as soon as you clicked “Save”. If you log out of the system at this point or any future point, you will click on the existing claim until it has been submitted.
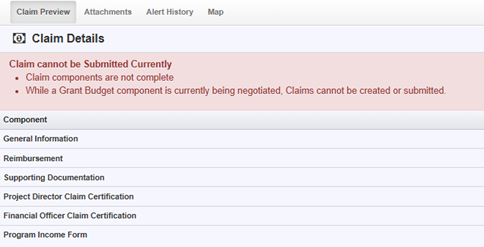
Once the “General Information” has been completed, you will be returned to the “Claim Components”.
This is a complete listing of all claim forms that are to be completed to submit the claim.

You can now begin completing the claim forms designated for your grant.
Note: All forms can be edited and saved as often as necessary, but the system will require that ALL fields marked as “Required” MUST have entries and EVERY form must be “Marked as Complete” to submit. You will receive a pop-up message notifying you of this if you try to submit without completing these steps.
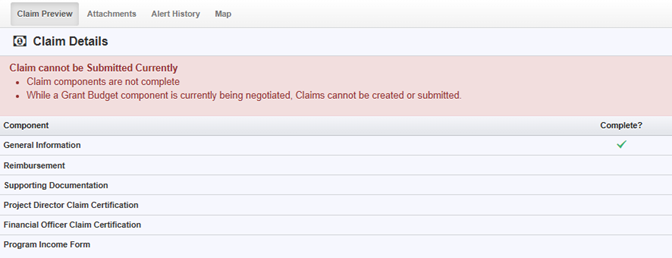
The “Mark as Complete” button appears in orange on the right side of the screen.

You will continue to click on and complete each form in the “Claim Component” listing. Please include supporting documentation if your program requires it.
Note: Most forms are editable by clicking “Edit” at the top part of the section. However, multi-list sections are editable by clicking “Add” on the section.
All information must be saved by clicking “Save” on the forms. If you do not click “Save” and you back out of the form or section of the form, your information will be lost.
The Project Director and Financial Officer are certifying to the accuracy of the Reimbursement request and should each complete the certification separately. Each will need to be Added as a Contact to the grant as shown in “Applicant Instructions for applying for funding in WebGrants” and each must have their own login.
Once you have filled out all required components and marked each form complete, you will click “Submit Claim”. The claim will be reviewed and reimbursement processed unless you hear otherwise from a Wisconsin DOJ representative.